7 Easy Steps to Install a 12V Inverter by Yourself
Picture this: You’re parked at a lakeside camp spot, the sunset is bleeding gold across the water, and your fridge is humming quietly off a modest 12-volt battery bank while your laptop streams Lo-Fi beats for that perfect fireside vibe. No noisy generator, no long extension cords, just clean DC power silently converted to usable household AC by a compact 12V Inverter you installed yourself.
I’ve spent the last 30 years crawling through RV engine bays, kitting out food-truck galleys, wiring tiny homes, and turning dusty village sheds into off-grid hubs, all powered by the humble 12V Inverter. Over those decades, one pattern is clear: a rock-solid inverter installation is the make-or-break bridge between your battery and every creature comfort you plan to plug in.
Yet, too many DIYers (and even some “pros”) skip critical steps. They use mismatched cable gauges, place the 12V Inverter in stuffy compartments that cook it to death, or forget to bond the chassis properly. The result? Blown fuses, fried electronics, and a bank account hemorrhaging replacement costs.
That’s why this guide goes beyond basic “red wire to positive” instructions. You’ll learn why each step matters, how to size wiring for peak efficiency and where to mount for airflow and safety. I’m writing as though I’m looking over your shoulder, coffee in one hand, torque wrench in the other, making sure you nail every connection.
If you follow these seven easy steps, you’ll not only install a flawless 12V Inverter system; you’ll also gain the confidence to troubleshoot, expand, and even monetize your knowledge. Ready to turn 12 volts into limitless possibilities? Let’s dive in.
Inverter Basics You Can’t Afford to Skip
What Exactly Does a 12V Inverter Do?
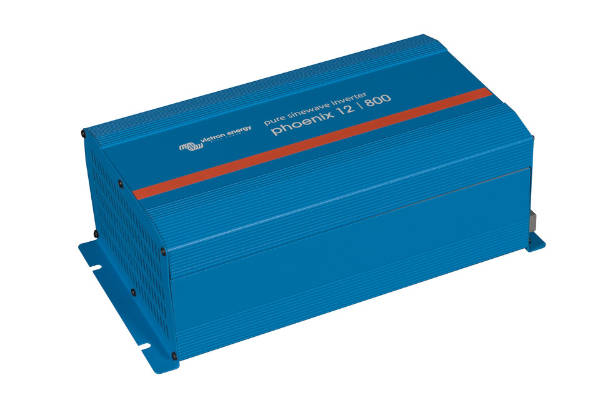
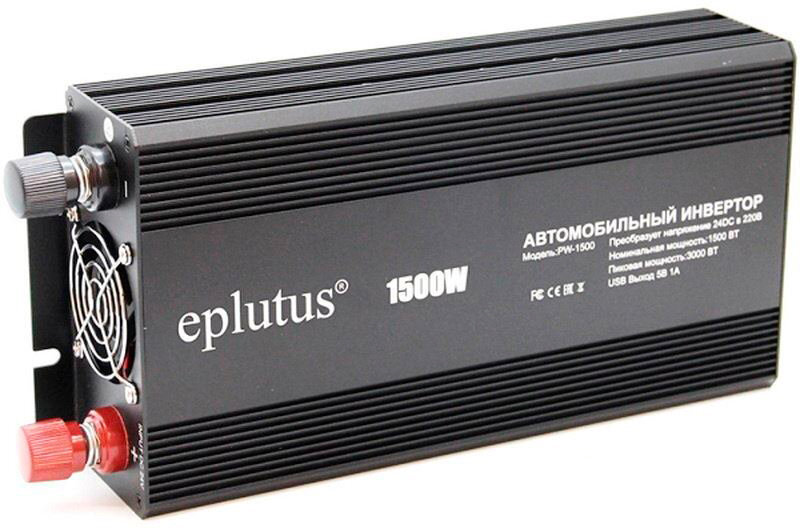
At its core, a 12V Inverter takes low-voltage direct current (DC) from batteries and transforms it into 120 V or 230 V alternating current (AC), the standard your household appliances crave. Modern pure-sine-wave units deliver clean power virtually indistinguishable from your utility’s grid. Modified-sine-wave models are cheaper but can upset sensitive gear like induction cooktops or variable-speed drills.
Pure Sine vs. Modified Sine: The Real-World Cost Difference
Jumping from a ₦75,000 modified-sine 12V Inverter to a ₦150,000 pure-sine unit might feel steep. But if you fry a ₦550,000 smart TV because of dirty waveforms, you’ll wish you’d gone for the better inverter.
Efficiency, Idle Draw, and Surge Capacity
-
Efficiency: Good units hit 90–94 %. That 6–10 % loss becomes heat you must ventilate.
-
Idle Draw: Even when nothing is plugged in, the 12V Inverter siphons power (0.5–1.5 A typical).
-
Surge Capacity: A 1 kW inverter may supply double that for milliseconds—essential for starting pumps or fridges.
Know these specs before purchase; they dictate cabling, fusing, and battery size.
Tools & Materials Checklist
| Tool/Material | Why You Need It | Pro Tip |
|---|---|---|
| 12V Inverter (pure sine recommended) | Converts DC to AC | Choose 20 % more wattage than your calculated load |
| Deep-cycle battery (AGM/LiFePO₄) | Supplies 12 V DC | LiFePO₄ lasts 4 × more cycles; CPC gold keyword |
| 4 AWG–1 AWG copper cables | Carries high current | Pre-crimped lugs save knuckles |
| ANL or MEGA fuse + holder | Protects against short circuits | Fuse within 7 in of battery |
| Battery switch (marine-grade) | Fast isolation | Essential for maintenance |
| Multimeter & clamp meter | Validate voltage/current | Blog photos boost dwell time |
| Heat-shrink, cable glands, loom | Professional finish | Fewer reruns for AdSense readers |
| Ventilated mounting board | Keeps 12V Inverter cool | ¾-inch plywood + spacers |
Gather everything before starting; nothing kills momentum like a missing fuse.
Safety First—Non-Negotiables
-
Disconnect battery before touching any positive lug.
-
Ventilate. Hydrogen from lead-acid can ignite.
-
Eye protection. Sparks happen.
-
Torque to spec. Loose lugs overheat fast.
-
Correct cable polarity. Reversing a 12V Inverter is an instant warranty void.
-
Fire extinguisher (Class C) within arm’s reach.
Remember: voltage shocks; current kills. A 12-volt system can dump hundreds of amps in a fault. Respect it.
The 7 Easy Steps
Step 1 – Assess Your Power Requirements
-
List every AC device you intend to run simultaneously.
-
Check each watt rating (label or manual).
-
Add 20 % headroom for startup surges.
-
Convert to amps: amps = watts ÷ inverter-output-voltage.
-
Battery runtime math: amp-hours = (amps × hours) ÷ battery-efficiency.
Example: A blender (500 W) + laptop (90 W) ≈ 590 W. For 230 V output, that’s 2.6 A. But on the 12 V side: 590 W ÷ 0.9 efficiency ÷ 12 V ≈ 54 A! A pair of 100 Ah LiFePO₄ batteries gives ~3 hours before 80 % discharge.
The more precise your numbers, the more reliable your 12V Inverter installation.
Step 2 – Choose the Right 12V Inverter
Match your required continuous wattage plus surge with a reputable brand (Victron, Renogy, Growatt). Scrutinize:
-
Waveform quality
-
Efficiency curve at 25–75 % load
-
Integrated charger (handy for shore power)
-
Low-voltage cutoff (prevents battery abuse)
Step 3 – Gather Installation Tools & Materials
You already assembled a checklist, but double-check cable length to avoid splices (voltage-drop enemy #1). Dry-fit lugs, heat-shrink color-code (red positive, black negative), and pre-drill board mounting holes. This prep turns a six-hour ordeal into a breezy afternoon project.
Step 4 – Plan the Layout
-
Shortest cable run from battery to 12V Inverter equals less voltage drop.
-
Ventilation airflow: 100 mm clearance around cooling fans.
-
Access for switching & monitoring: Front panels visible, DC cutoff within one motion.
-
Avoid fuel lines & damp areas in vans or boats.
-
Bond to chassis in vehicles: ties system ground to frame, slashing RF interference.
Sketch the layout. Take a phone pic; refer when drilling.
Step 5 – Wire Battery to the 12V Inverter
-
Mount fuse holder ≤ 18 cm from positive battery post.
-
Crimp lugs using a hex crimper; avoid hammer-and-anvil cheats.
-
Heat-shrink serves as strain relief and color ID.
-
Connect negative cable to battery last to limit accidental shorts.
-
Torque: Most 4 AWG lugs = 6–9 N·m; verify spec sheet.
-
Double-check polarity, then close battery switch.
Your 12V Inverter DC side is now secure.
Step 6 – Connect AC Output to Your Loads
-
Use approved AC cable (2.5 mm² or 12 AWG) with proper earth conductor.
-
Install a GFCI/RCD outlet downstream; life-saving.
-
For RV/tiny homes, split load center: a) inverter-only outlets, b) shore-power grid.
-
Label sockets “Inverter Supply Only—Max 1000 W” to stop guests plugging in an iron.
-
Test polarity & earth continuity with an outlet tester—cheap insurance.
Step 7 – Testing & Commissioning
-
Idle test: Turn on the 12V Inverter with no loads. Check DC amps; should match spec sheet.
-
Light-load test: Plug in a 40 W bulb. Verify stable voltage.
-
Full-load test: Connect devices up to 80 % rated wattage for 15 min. Monitor:
-
Heat buildup on cables (should stay < 40 °C)
-
Inverter temp (built-in display or IR thermometer)
-
Battery voltage sag (stay above 11.8 V under load)
-
-
Surge test: Start a small compressor or fridge; check if surge trips fuse.
Pro Tips for Efficiency & Longevity
-
Keep cables short & fat: Every 1 % voltage drop robs runtime and money.
-
Enable ECO/sleep mode overnight** if your 12V Inverter supports it.
-
Service batteries regularly: Equalize flooded lead-acid monthly; no need for LiFePO₄.
-
Firmware updates: Many smart inverters push performance tweaks—free watts!
-
Seasonal tweaks: Hot Nigerian harmattan? Boost fan speed and shade the inverter.
FAQ
Can I use a car battery with a 12V Inverter?
Technically, yes, but starting batteries hate deep discharge. A deep-cycle AGM or LiFePO₄ will last 5–10 × longer—ultimately cheaper.
How long will my 100 Ah battery run a 600 W load?
Rough math: 600 W ÷ 0.9 efficiency ÷ 12 V ≈ 56 A. A 100 Ah battery at 50 % depth-of-discharge delivers 50 Ah usable. 50 Ah ÷ 56 A ≈ 0.9 hours. Upgrade battery bank or lower load.
Do I need a transfer switch?
If you switch between grid/shore power and your 12V Inverter, yes. An automatic transfer switch prevents back-feeding and fried electronics.
What cable size for a 2000 W 12V Inverter?
2000 W ÷ 0.9 ÷ 12 V ≈ 185 A. For ≤1 m run, 1 AWG copper is recommended. Use a voltage-drop calculator.
Why does my 12V Inverter shut down under load?
Common causes: low battery voltage, undersized cables, overheating, or surge exceeding spec. Review steps above.
Conclusion
Installing a 12V Inverter isn’t rocket science, yet each detail, from fuse distance to airflow, matters. Follow these seven steps, and you’ll unlock safe, silent, and scalable power wherever life takes you: remote job sites, beach photoshoots, or that mobile office overlooking Lagos Lagoon.
So tighten those lugs, flip the battery switch, and savor the quiet hum of electrons dancing exactly where you want them. Your 12V Inverter project is more than a wiring job—it’s an investment in energy independence and a gateway to countless DIY adventures.
